Choux Pastry

Choux pastry is a versatile and light dough that can be used for spectacular desserts and savory treats. Considering how special and *fancy* puffs are when baked, they actually are rather straightforward to make. If you’ve made choux once, subsequent attempts will seem incredibly simple. I like Jacques Pépin’s recipe and directions because the ingredients are minimal/elemental and the long wait times allow you to go about your day while making something magnificent.

I use most of the batter for sweet cream puffs, reserving a half or third for savory cheese gougères.

choux

Choux pastry
• 1 cup water
• 4 T butter
• 1 cup flour
• 4 eggs
• 1/4 tsp salt

1. Boil water, pieces of butter, and salt in saucepan.

2. When butter is melted, remove from heat and add all flour.

3. Quickly mix with wooden spoon until dough begins to form a ball.

4. Put pan over low heat and ‘dry’ for 1 to 2 minutes, mixing occasionally. Try to collect all dough into a single ball to avoid dry bits.

5. Transfer to a slightly larger bowl than would seem necessary and let cool at least 5 minutes. Add eggs one at a time, beating after each. The dough will seem to resist coming together, with large pieces sloshing about in the egg (so the larger bowl should be helpful), but keep mixing. It is finished when the dough is thick and creamy.

6. Coat a heavy baking sheet completely with butter, rubbing with wax paper or just holding the stick and fully covering the pan. Sprinkle flour, then hit and shake the pan to coat completely.

8. For Cream Puffs, put dough into pastry bag with large round tip and pipe golf ball sized puffs.
For Éclairs, drag the pastry bag to make a puff that is about 3 inches long and oval.
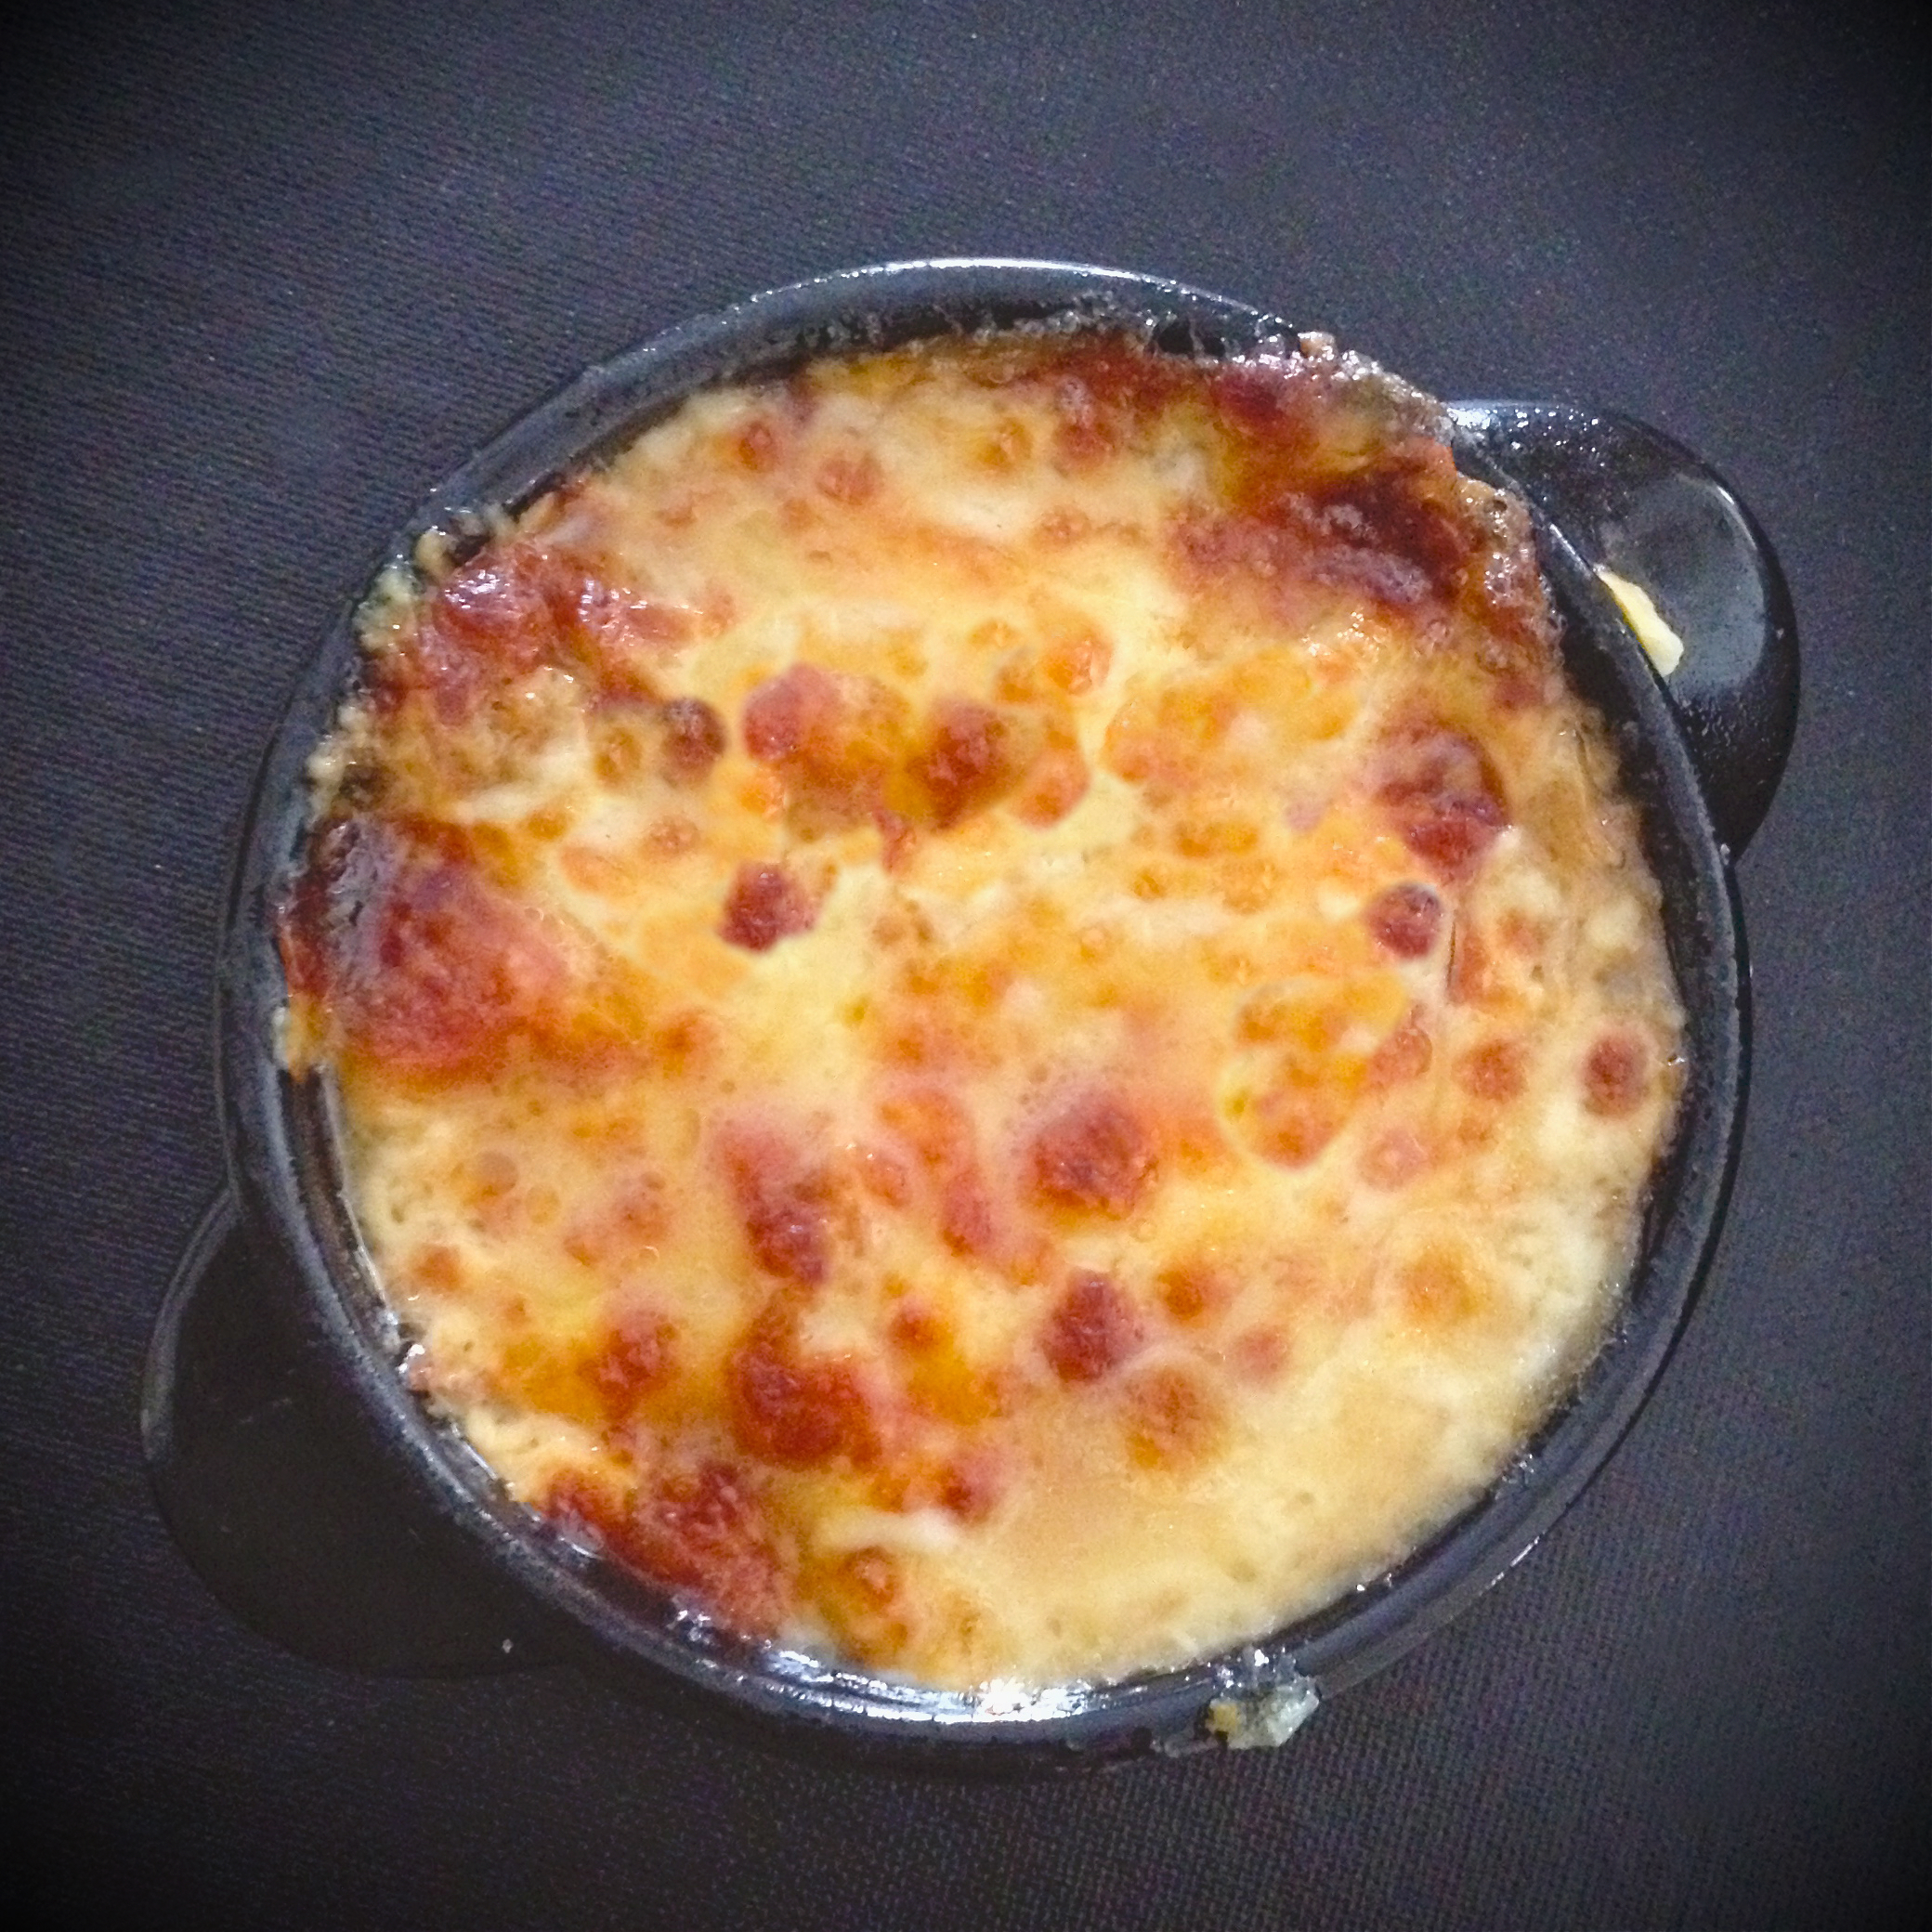
For Gougères, add some shredded cheese (Gruyére, Cheddar, Parmesan, etc) and/or herbs to dough. More makes for flat puffs, which will look like boring, normal biscuits. Just using a tablespoon or two will allow for savory flavor while preserving the fun puffiness.

9. Brush with beaten egg, smoothing out tips and obvious imperfections as you go. For a design, drag a fork across the top. Allow to dry for at least 20 minutes.

10. Bake at 375 degrees for 35 minutes, until puffed and golden. When finished, turn off heat and open oven door halfway, letting the puffs cool slowly and dry for a half hour (inside oven).

Filling

Make Custard Cream Filling:
• 2 cups (vanilla almond) milk
• 2 beaten eggs
• 2/3 c sugar
• 1/2 c flour
• pinch salt
• 1 tsp vanilla
• 1 T butter

1. Warm milk in saucepan over medium low heat.

2. Mix flour, sugar, and salt in bowl. Add eggs and combine, beating well.

3. Slowly add flour-egg mixture to milk, stirring with whisk.

4. It will thicken in a few minutes, but if it does not, add more flour until desired thickness is reached.

5. Add vanilla, continuing to stir.

To fill puff pastry, stab side of puff with pastry tip and squeeze until puff feels full.

Éclairs can be filled the same way depending on your tool, but it is efficient to make a slit lengthwise along the side of the éclair and fill.

Gougères are great on their own or can be filled with a soft cheese and/or other vegetables. Goat cheese with herbs and minced mushrooms and olives is quite good.

Ganache
• 1/2 cup or 4 ounces bittersweet or semi-sweet chocolate
• 1/2 cup heavy cream or 1/4 cup regular milk
• 1 T dark rum or Kahlua

1. If you don’t have one (like me), make a bain-marie using two pans of approximately the same circumference. Fill the first with water and boil.

2. Turn heat down to high to preserve a delicate/light boil and place pieces of chocolate in second pan. Put second pan on top of water pan and allow chocolate to melt, mixing frequently with rubber spatula. Alternatively/rationally, melt chocolate in microwave.

3. Pour cream and rum into bowl, then pour melted chocolate into mixture. Whisk until it is creamy. It will be slightly thinner than seems necessary but if it is too watery/thin, melt and add more chocolate. It should be thick enough to coat a cream puff without being translucent, but thin enough to pour.

Pour over cream puffs or éclairs.
For gougères, sprinkle grated cheese and herbs on top instead of ganache.

French Onion Soup

onion soup

The time to make onion soup is best dictated by one’s pantry. As the only ‘fresh’ ingredients are cheese and onion, the biggest variable is bread. Rather than making a free choice in favor of soup, I let a stale leftover baguette decide- throw it out, make croutons, or make French onion soup.

I don’t actually measure anything in this recipe…The quantity of each ingredient can and should be regulated according to taste, with the amount of onion vs liquid the most important consideration. The onions will also cook down so you should add more than you think is necessary. Listed quantities come from Julia Child’s recipe, with the flour omitted.

•  5 cups sliced yellow onion
•  at least 3T butter (as much as you’d like)
•  1 tsp sugar
•  1/2 c dry white wine
•  2 quarts beef or vegetable stock
•  1 tsp salt and pepper
•  half a baguette
•  1 c Swiss or Gruyère + muenster cheese

1. Coat cast iron skillet with 1T butter. Add onions and mix around to coat onion in butter. Cover, and allow to cook untouched 15 minutes over medium heat. Check every 15-20 minutes for an hour or more, depending on heat settings. Midway through cooking, fully turn all onions, then sprinkle with sugar and add 2 T butter. Allow to continue to brown, without stirring them. Onions do not want to be your friend, and do not need to dance all the time-best to leave them alone as much as possible. Some crust on the pan (and onions!) is good, but not necessary.

2. In separate pot, heat beef (or vegetable) stock with a touch of dry white wine (you can use red wine instead-its just important that its dry else the fruitiness can be a bit obvious) and pepper.

3. With onions still cooking, deglaze pan with white wine straight from the bottle. Add stock, some pepper, then adjust to taste. The biggest caution here is to watch your wine-since I just pour some from the bottle I’ve found its very easy to end up with onions in wine-flavored water… If that happens, just allow to reduce much longer.s

4. Slice bread and toast under broiler. I use 1 or 2 for each ramekin, but more layers makes for a kind of bread pudding that is exceptionally delicious, so toast however much you like.

5. Ladle soup into ramekins. Cover with one or two slices of toast, darker side down. To layer, allow each slice to soak up liquid before placing another. Sprinkle swiss/gruyere on top, and cover with a slice of muenster cheese. Muenster melts quickly and evenly, making for an awesome gooey surface, and doesn’t have a strong flavor that will overpower your chosen cheese. If you just want to use one cheese for your soup, it should be muenster.

6. Serve with extra piece of bread. Extra ramekins can be saved for a few days, and make a fantastic breakfast.

Leek & Bean Cassoulet

cassoulet

Cassoulet is a meat-intensive French bean dish, a stew of remainders. This adaptation from Veganomicon by Moskowitz & Romero has the spirit and comfort of chicken pot pie. (They also include a seitan pot pie recipe that looks very good)

Most of the time invested in this recipe is dedicated to prep, so it may help to dice and cube and mince everything beforehand. Its probably possible to prepare the vegetable mixture in advance, because the finished casserole keeps fantastically for days.

• 2 potatoes
• 2 leeks
• 1 1/2c carrots
• 3/4c frozen peas
• 1 small onion
• 1 [15oz] navy or white beans, drained & rinsed
• 1 T fresh thyme, plus more for garnish
• black pepper, 1/2tsp salt
• 2 cloves minced garlic
• 2T olive oil
• 3c vegetable stock
• 3T cornstarch

Biscuits:
• 3/4c plain soy milk
• 1tsp apple cider vinegar
• 1 1/2c flour
• 2tsp baking powder
• 1/4tsp salt
• 1/4c (vegan) shortening

1. Boil potatoes for 10 minutes or until they can be easily pierced with a fork. Remove from water and allow to cool.
2. Slice the leeks into thin disks and dice the onions and carrots. Over medium heat, sauté together until soft and just beginning to brown (about 10 minutes).
3. At this point, start mixing the biscuits. First, add vinegar to the soy milk and set aside to curdle. In a mixing bowl, combine flour, baking soda, and salt.
4. Add garlic, thyme, s&p to the cooking vegetables. Cut potatoes into cubes and add along with frozen peas. Add cornstarch to vegetable stock and pour over all vegetables. Raise heat slightly and allow to simmer for about 7 minutes, stirring occasionally.
5. Add shortening to the biscuit flour mixture. Combine with fork so there are large clumps. Add soy milk and mix until it is moistened. ‘Knead’ with fork until dough holds together nicely and isn’t extremely sticky. (More flour can be added if necessary)
6. The vegetable mixture should be slightly thickened. Add to casserole dish(es), leaving an inch or so to accomodate for biscuits. Gently roll and flatten into biscuits or fun shapes and place over mixture.
7. Bake in 425 degree oven for 15 minutes in order to slightly brown biscuits. Sprinkle with thyme and serve.

Tomato & Bread Salad

tomato bread salad
This is an extremely delicious alternative salad from The Sweet Life in Paris, by David Lebovitz. As its just a melange of ingredients, its very easy to customize– I decreased the quantity of most everything to feed two people and made some substitutions (red pepper, shredded cheese) for ingredients I didn’t have that day (cucumber, feta). It keeps well in the fridge, with the bread getting only slightly more saturated, and is really good the next day.

• 4c bread
• 1tsp Dijon mustard
• 1 1/4tsp coarse salt
• Black pepper
• 2-3 garlic cloves, peeled and finely minced
• 6T red wine vinegar
• 2/3c extra virgin olive oil
• 8 medium tomatoes
• 1 cucumber
• 3/4c pitted black or kalamata olives
• 1 onion
• 1 packed cup of fresh basil, mint, and flat-leaf parsley (mixed together)
• 1/2 lb feta cheese

1. Cut bread into cubes and toast in the oven for about 15 minutes, turning periodically for full coverage.
2. In serving bowl, whisk mustard, salt, pepper, garlic, vinegar, and olive oil.
3. Slice tomatoes and other veggies in half and squeeze out juice. Cube.
4. Add vegetables to bowl with dressing. Mix in herbs and bread pieces and toss well.
5. Crumble cheese on top and serve.

Raspberry Clafouti

This is from Eric Ripert’s Get Toasted podcast, a quick recipe tailored for your toaster oven. I don’t have a toaster oven, but the recipes are perfect for one or two people, and can all be made quicky in a regular oven. His recipes included in this series are all really elegant, and his show Avec Eric was instrumental in inspiring me to learn more about cooking.

Clafouti

• 1T room temperature butter
• 1/4c sugar, with extra for the dish
• 1 egg
•  3T flour
• 6T (almond) milk
• 1tsp vanilla extract
•  Raspberries

1. Whisk egg, then add sugar, milk, and vanilla.
2. Add flour and mix until combined so as to not overwork.
3. Butter small casserole or gratin dishes (I made 3) with a brush. Coat with sugar, shaking bowl around for full coverage.
4. Place raspberries flat-side down in dishes and slowly pour mixture between, allowing them to poke out a bit.
5. Broil until the mixture is solid, which will take 8-10 minutes on high, or 15-20 on low.

Video of Eric making this recipe here

Mint Chocolate Macarons

Untitled by Nico Paix
Untitled, a photo by Nico Paix on Flickr.
These were made using the Martha Stewart recipe. They weren’t as smooth or picturesque as previous efforts, but they were puffier and actually had ‘feet’. Structurally, they’re pretty strong so this is a nice beginners shell recipe.
Then again, the result might not have much to do with the recipe– macarons are very finicky and difficult, so if your technique is off or if measurements are too imprecise, you might end up with a different result. I found watching YouTube videos to be immeasurably helpful, pulling information from many sources to create a technique that felt ‘right’ for initial experiments. It’s also good to really look around as there are a few very different methods for making the shells, which mostly has to do with how you create the meringue. Martha’s recipe is the French method, but you can also use the Italian (where you heat the granulated sugar into a syrup) or Swiss (hand whisking in a double boiler) methods.
A good place to start researching is the link for the mint chocolate ganache, which includes really helpful guides & troubleshooting. This filling is also a great beginners recipe because it’s flamboyantly delicious. The first few batches I tried were hit or miss: raspberry preserves were the best, but they were rather plain. Apple butter frosting was sickeningly sweet, while chocolate caramel was sticky but somehow didn’t compel the two sides to stay together. A liquid filling like preserves or caramel are best integrated into a plain frosting to keep the cookies structurally sound and as adorable as they should be.
All-Purpose Macaron Recipe
• 1 1/4c confectionary sugar, sifted
• 1c almond meal/flour, sifted
• 6T egg whites (from approx 3 eggs, depending on size)
• 1/4 granulated sugar
• Pinch salt
• An electric mixer, parchment paper, and pastry bags/tips

1. Separate and measure your egg whites. Cover with plastic wrap and leave on the counter until at room temperature, at *least* for a few hours. Refrigerate the yolks for use in another recipe, or treat yo self and make a crazy anti-health-craze omelet. While waiting, check the bowl of your electric mixer, ensuring that it is completely clean. Ideally, it should be stainless steel as (according to Julia Child) other materials (like plastic, etc) can retain fats that ruin your meringue. Wash and allow to dry completely.

2. In a mixing bowl, combine confectionary sugar and almond meal. Preheat oven to 300 – 350 degrees.

3. Pour egg whites into your super clean bowl and allow the electric mixer to whisk them until foamy. Add a pinch of salt, then gradually add granulated sugar and increase speed to high. You want stiff peaks to form, and for the mixture to be glossy. It is finished when you can turn the bowl upside down without spillage.

4. Gently fold in the confectionary sugar and food coloring.

5. Line a couple of baking sheets with parchment paper. If you’d like uniform macarons, you can make circles on one side, flip the paper over, and pipe on the clean side. (There are also silicone maps for guidance.) I just pipe and match the bigger ones with the bigger ones, and the misshapen ones with fellow eccentrics.

6. Use a pastry bag with a round tip, a frosting dispenser (I use this), or a big plastic bag with the tip cut off to pipe the dough onto the parchment. If there are little peaks from where you stopped, pat down with your finger.

((This is, without question, the worst part of macaron making, as the dough is rather thin. But it definitely gets better with practice-as you get comfortable with your chosen piping tool, your circles become more uniform and there’s less mess.))

7. Bake at 300 – 350 degrees for about 15 minutes. I think I baked an earlier batch at a lower temperature to prevent browning. If your oven tends to burn stuff, it’s not a bad idea to hover and calibrate the time & temperature as necessary. Basically, you’re looking for the shells to have the feel of an eggshell and for the cookie to have a little foot at the bottom. Mine probably have cracks in the shell because my oven was too hot, so next time they should be baked in the 200s.

8. Fill with frosting, ganache, preserves, caramel, etc. These are filled with chocolate ganache (recipe below), but just plain raspberry preserves is an absolutely delicious filling. You can also make a flavored buttercream frosting, or combine textures, like adding a little piece of dried or fresh fruit, different spices (even savory ones), etc. You can also avoid filling the macarons and use them as cake decoration. Either way, as they don’t keep for very long (its best to start eating them after allowing them to rest a day-they’ll stay fresh for a few days after that) ensure they are delicious!

Chocolate Mint Ganache 
7oz (1c + 2.5T) or 200g chopped semi-sweet chocolate
Under 1/2c or 100g heavy cream
2-3 drops peppermint extract

1. Bring the cream to a simmer. Once warm, pour over chocolate, ensuring its submerged. Allow to stand for a minute, then softly stir.
2. Add a few drops of extract, as much as you feel is necessary.
3. Leave at room temperature until its cooled and thickened.
4. Drop spoonfuls onto macarons and cover with another shell.

Ratatouille

ratatouille

1 (or so) each:
• eggplant
• zucchini
• white onion
• red bell pepper
• large tomato (or a few medium)
• Garlic, olive oil, parsley, s&p, fresh Provençal herbs of your choosing

1. Cut eggplant and zucchini into large cubes. In olive oil, cook over medium heat for a few minutes, until eggplant softly browns
2. Remove from heat, set aside. Now heat cubed onion and red pepper in same fashion. Mash and mince 2-3 cloves garlic and add, along with some s&p. Set aside in another bowl.
3. Heat cubed tomato & olive oil
4. In large pot, layer 1/2 of tomato mix, then pepper & onion mixture, then zucchini & eggplant, then rest of tomato. Sprinkle parsley (lots) on top, drizzle olive oil. I put a few sprigs of oregano, lavender, sage, and thyme to infuse. Cover.
5. Leave on medium heat for a while, then remove sprigs and stir. 6. Stir every so often, and eventually remove cover and set to boil. Stir more frequently during this period. Simmer.

It’s done when you feel it’s reached a good consistency. I like mine soupy, so I don’t reduce very long and add a bit more olive oil here and there. If you like less liquid, let it boil longer or squeeze the gel/seeds from the tomato before you begin. If you’d rather make the movie version, look for “confit biyaldi”.

Serve with big chunk of fresh bread, and love your leftovers. :)